Studebaker
Car
Club Of
|
Studebaker
Car
Club Of
|
Information About the VehicleTo have your Vehicle included in our Gallery, please provide some details, specifications, history, and/or any interesting information about it, similar to that shown here.
|
||||||||||||||||||||||||||||
Information on photographs |
|
| For those who would like to provide photo's of their vehicle, any or all of the following views would be appreciated taken from about waist height. It is better to stay a little bit further away and get all of the car in, rather than get too close and cut bumpers or corners of the car off. | |
 |
1/ 3/4 front & right side of vehicle. Leave space either side as a border. |
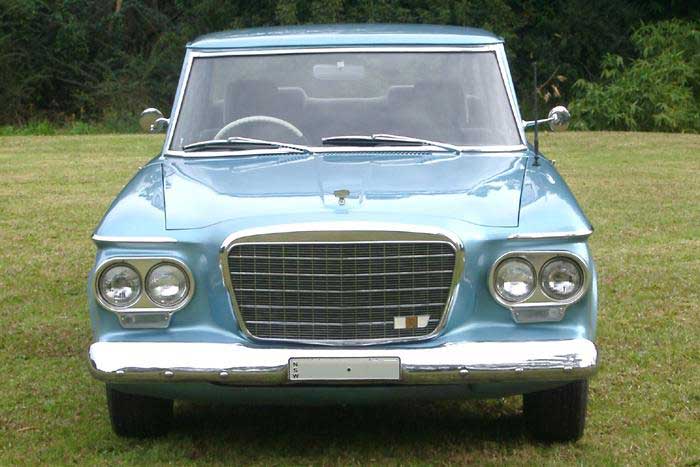 |
2/ Square on front. Keep camera horizontal, taking 'landscape' type shot. Leave space top and bottom as a border. |
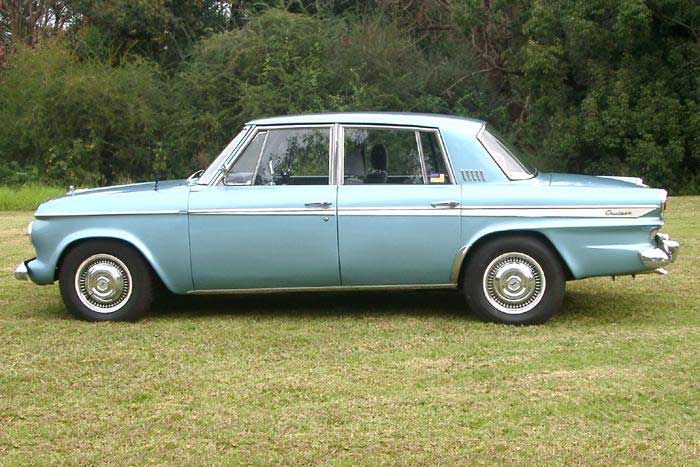 |
3/ Square on left hand side. Leave space either side as a border. |
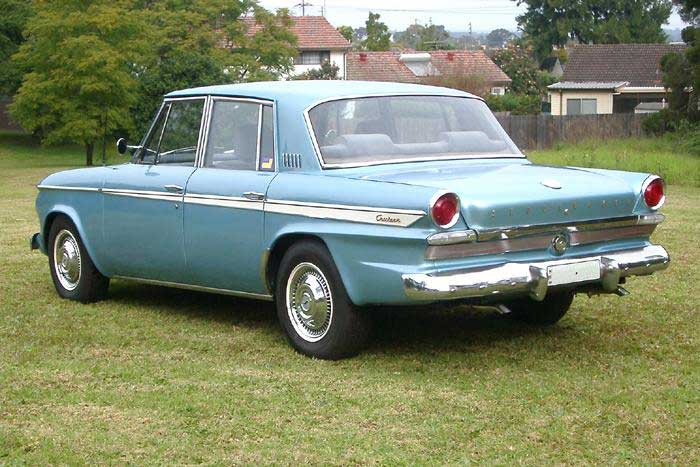 |
4/ 3/4 rear & left side. Leave space either side as a border. |
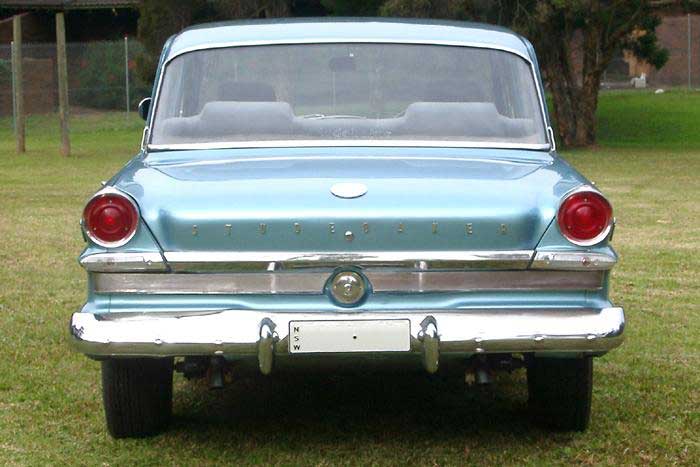 |
5/ Square on rear. Keep camera horizontal, taking 'landscape' type shot. Leave space top and bottom as a border. |
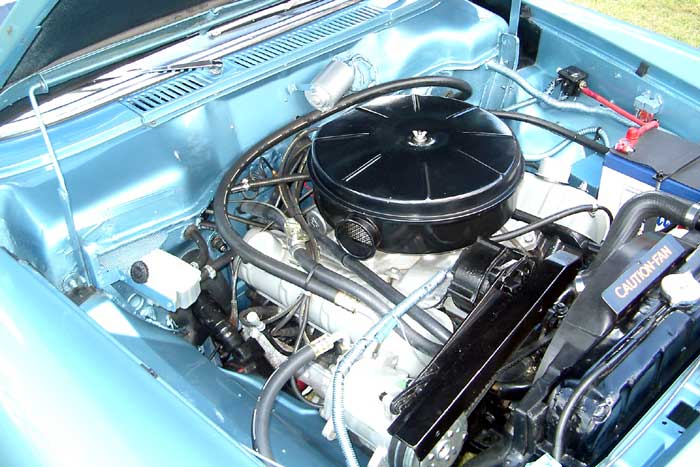 |
6/ Engine, right hand side. Don't get too close, and get as much of the engine bay as possible. |
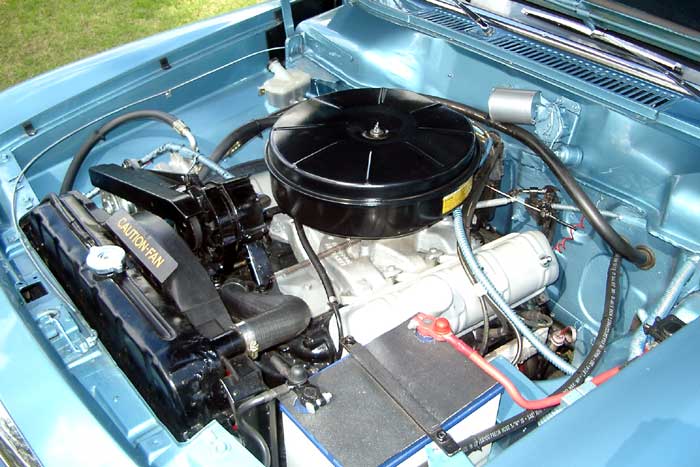 |
7/ Engine, left hand side. Don't get too close, and get as much of the engine bay as possible. |
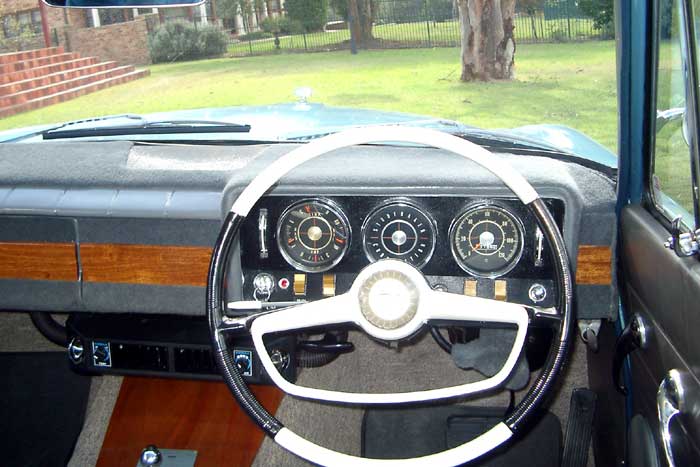 |
8/ Dash board, full width if possible, getting all of steering wheel in as well. A second close up shot of the instruments would also be good. |
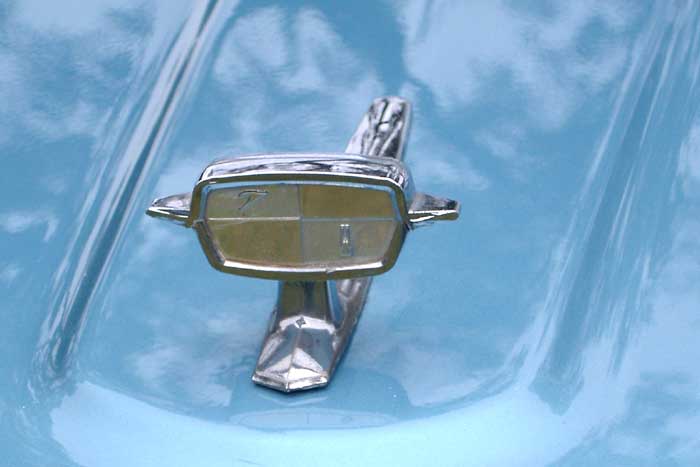 |
9/ Bonnet or radiator mascot and/or emblem. Where applicable, get both radiator mascot and emblem if possible. Try not to get too close. Stay about 1 meter away and zoom in. Also try not to take shot square on as you could end up being reflected in the photo. |
|
Other photo's are also welcome, especially any of those during rebuilding or restoration, or while doing any mechanical repairs.
|
|
|
Photos may be provided in either normal post card size prints with glossy finish, or electronically as a jpeg file.
Taking the photographs When taking photo's for the website, please keep in mind that the emphasis should always be on the vehicle. Nice backgrounds enhance the overall effect, but the whole point of the photo is to show the vehicle.
Refer to the samples as a guide. Generally fill the frame leaving a border at both sides of the pic, and don't cut off any parts of the vehicle. When taking front and rear shots keep camera horizontal, ie don't turn camera sideways and leave a border at top and bottom. Generally, it is better to stand back and zoom the camera to frame the picture. If you try to get too close, sometimes you get too close for the camera to focus, and a blurred image will result.
Editing electronic photographs You can email photo's straight from the camera, but please try to have the camera set to take photo's to no more than 1,100 pixels wide, or resize them to 1,100 pixels wide. If they are larger than 1,100 pixels the email may be too large to transmit, and it takes a long time to download the images.
If you do not have any software for re-sizing images, there is a free downloadable program that is easy to use. Click >HERE< to download 'PIXresizer'. Once it has been downloaded, installed, and opened, you simply open the subject image, select the new size, and save it. Select a size about 1100 pixels wide. When the image is saved, it will be re-named with the size at the end of the original name, and saved into the same folder.
If you want to help by preparing the jpeg files, I would appreciate using the standardised format below. You will need a photo' editing program like Photoshop to do this.
Refer to the samples as a guide. a/ Frame the photo by cropping it to 15cm wide by 10cm high @ 200 pixels / inch. Leave small gap at each side of the pic.
b/ Resize the photo to 800 pixels wide.
c/ Optimize the photo and "save for web" use when saving it.
Once you have prepared the jpg files as described above, they will be suitable for email. Please email to address shown on our Contact Us page.
|
|
| *
|